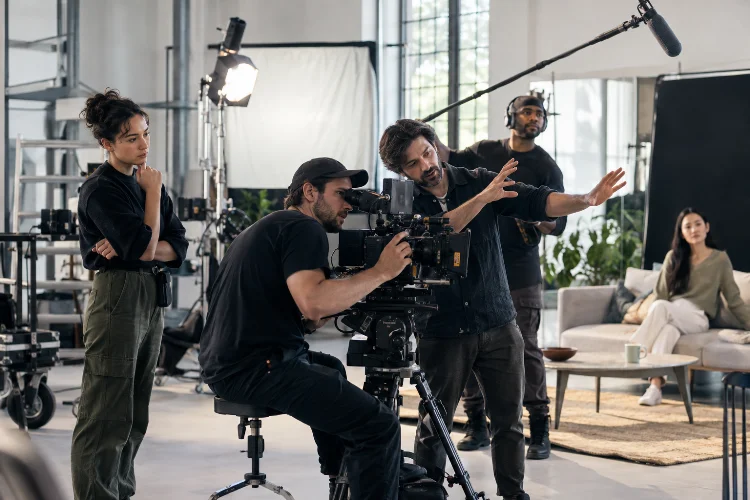
Walk onto a film set for the first time and you might feel like everyone is speaking another language.
Someone asks for a wide shot, another person mentions coverage, the director wants a new take, and the cinematographer starts talking about aperture, frame rate, and depth of field.
It sounds complicated, but filmmaking terminology becomes much easier once you understand how the terms connect to the actual process of making a movie.
Learning the essential filmmaking terms every beginner should know gives you more than a bigger vocabulary.
It helps you communicate with other filmmakers, plan your shots, operate a camera more confidently, understand editing decisions, and follow what is happening during production.
You certainly do not need to memorize an entire filmmaking dictionary before shooting your first short film. Instead, start with the words you will hear repeatedly during pre-production, filming, and post-production.
Here are the most important concepts to know when you are just begining your filmmaking journey.
1. Shot, Scene, and Sequence
Three of the most basic film production terms are shot, scene, and sequence. They sound similar, but each describes a different level of visual storytelling.
A shot is one continuous piece of recorded footage between the moment the camera begins recording and the moment it stops. If an actor walks through a door and the camera records the entire action without cutting, that recording is one shot.
A scene is usually made from several shots that show a continuous event in one general location and period of time. A restaurant conversation, for example, might contain a wide shot of the table, medium shots of each character, and close-ups during important emotional moments.
A sequence is larger. It combines several related scenes into one storytelling section. A training montage might include scenes at a gym, on a running track, and at home while still functioning as one sequence.
Understanding this hierarchy makes storyboarding, shooting, and editing much easier.
2. Wide Shot, Medium Shot, and Close-Up
Shot size describes how much of the subject and environment appears inside the frame.
A wide shot, sometimes called a long shot, shows much of the environment around a subject. Filmmakers often use wide shots to establish a location or show how a character relates to their surroundings.
A medium shot typically frames a person somewhere around the waist or chest upward. It is common in dialogue scenes because viewers can see facial expressions while still noticing body language.
A close-up brings the camera much closer to the subject, often emphasizing a face or important object. Close-ups can make emotions feel more immediate because distractions around the subject disappear.
There are many variations, including extreme close-ups, medium close-ups, full shots, and extreme wide shots. The important lesson is that shot size is not merely technical. It influences what viewers notice and how emotionally close they feel to a character.
3. Camera Angle and Camera Movement
Shot size determines how much viewers see, while a camera angle determines where they see it from.
An eye-level shot places the camera roughly around the subject’s eye line and usually feels neutral. A high-angle shot looks downward, while a low-angle shot looks upward.
Depending on context, these perspectives can make characters appear weaker, stronger, vulnerable, intimidating, or simply different.
Camera movement introduces another set of common filmmaking terms.
A pan rotates the camera horizontally from side to side. A tilt moves the view vertically. A dolly shot physically moves the camera toward or away from the subject, while a tracking shot follows movement through a location.
A zoom, meanwhile, changes the focal length of the lens instead of physically moving the camera.
Beginners often treat these techniques as decoration. A better approach is to ask why the camera needs to move. If movement does not reveal information, follow action, or support an emotion, a static shot may work better.
4. Aperture, ISO, Shutter Speed, and Exposure
Sooner or later, every filmmaker encounters the basics of camera exposure.
Aperture refers to the adjustable opening inside a lens that controls how much light reaches the camera sensor. It is commonly expressed through f-stop values such as f/2.8 or f/8.
A wider aperture allows more light to enter and can create a shallower depth of field. A narrower aperture reduces incoming light and can keep more of the image in focus.
ISO controls the camera sensor’s sensitivity or amplification level. Raising ISO can help in darker situations, but excessive ISO may introduce visible image noise.
Shutter speed determines how long each frame is exposed. In filmmaking, it strongly affects how motion appears. A very fast shutter can create sharp, choppy movement, while slower settings introduce more motion blur.
Together, aperture, ISO, shutter speed, lighting, and other camera settings affect overall exposure, which simply describes how bright or dark the recorded image appears. These ideas are among the most fundamental camera terms for new filmmakers.
5. Frame Rate, Resolution, and Aspect Ratio
A movie is essentially a rapid series of individual images called frames.
Frame rate tells you how many frames are recorded or displayed every second. It is normally written as frames per second, or fps. Film has traditionally been strongly associated with 24 fps, although filmmakers may choose different frame rates for creative or technical reasons.
Higher recording frame rates can also be used for slow motion. For example, footage captured at 120 fps can be played back at a lower frame rate to make the action appear dramatically slower.
Resolution describes the pixel dimensions of the image. Common formats include Full HD and 4K. More resolution can provide additional image detail, although resolution alone does not guarantee beautiful cinematography.
Aspect ratio describes the relationship between the width and height of the frame. Different ratios can give a project a noticeably different visual character.
These settings should ideally be decided before production so clips from seperate cameras remain consistent.
6. Depth of Field, Focus, and Focal Length
Focus determines which area of an image appears sharp.
Depth of field describes how much distance within the image appears acceptably sharp. A shallow depth of field may keep a character’s face sharp while turning the background into a soft blur. A deep depth of field keeps more foreground and background detail visible.
Another important term is focal length, usually measured in millimeters. Different focal lengths influence the field of view and how space appears.
Wide-angle lenses can show more of a location and may exaggerate the distance between objects. Longer focal lengths create a narrower field of view and can visually compress space.
Lens choice is therefore not simply about fitting everything into the frame. It becomes part of visual storytelling.
A filmmaker shooting an uncomfortable conversation might choose a long lens and tight framing to isolate a character. A wide lens could instead emphasize the room and relationships between multiple people.
7. Blocking, Composition, and Mise-en-Scène
Some important filmmaking terminology has less to do with camera settings and more to do with what happens in front of the lens.
Blocking refers to planning how performers move and position themselves during a scene. Good blocking can naturally guide audience attention without requiring excessive camera movement.
Composition is the arrangement of visual elements inside the frame. Filmmakers consider subject placement, negative space, visual balance, foreground objects, background elements, and leading lines when building a composition.
Then there is mise-en-scène, a French term referring broadly to the elements arranged within a scene, including performers, sets, costumes, props, lighting, and other visible details.
These ideas remind beginners that cinematic images do not come only from expensive cameras. Careful placement of a person, lamp, window, piece of furniture, or background object can completely change how a scene feels.
8. Coverage, Takes, Shot Lists, and Continuity
Production introduces several practical terms you will hear constantly.
A take is one recorded attempt at performing a shot. If the director says, “Let’s do another take,” the cast and crew repeat the shot.
Coverage means capturing enough different angles and shot sizes to give the editor options when constructing a scene. A dialogue scene might include a master shot, close-ups, reaction shots, and over-the-shoulder angles.
A shot list is a pre-production document describing the shots filmmakers plan to capture. It may include shot numbers, framing, camera movement, lenses, characters, locations, and other production notes. A good shot list can prevent important footage from being forgotten during a busy shoot.
Continuity means maintaining visual and narrative consistency between shots. If an actor holds a coffee cup in their right hand during one angle and suddenly holds it in their left in the next, a continuty error can become distracting.
Paying attention to these details is especially important when scenes are filmed across different hours or days.
9. Cuts, Rough Cuts, B-Roll, and Post-Production
Once filming ends, the project moves into post-production.
The most fundamental editing transition is a cut, where one shot immediately changes to another. Editors may also use jump cuts, dissolves, fades, match cuts, and other transitions depending on the story. Adobe notes that the basic straight cut remains a foundation of continuity editing.
A rough cut is an early assembled version of the film. It allows the filmmaker to evaluate pacing, performances, scene order, and the overall story before polishing visual effects, sound, color, and other details.
You will also frequently hear the term B-roll. This describes supplementary footage used alongside the primary footage. In a documentary about a baker, for example, an interview may serve as the main material while shots of kneading dough, ovens, ingredients, and customers provide B-roll.
Other post-production concepts include color grading, sound design, ADR, Foley, visual effects, and rendering. You do not need expensive equipement to begin learning these skills—the important thing is understanding what each process contributes to the finished story.
Learning filmmaking vocabulary can feel overwhelming because movies combine writing, photography, acting, sound, lighting, design, technology, and editing into one creative process.
The easiest solution is not memorizing hundreds of definitions. Start with the essential filmmaking terms every beginner should know, including shots, scenes, exposure, focal length, frame rate, blocking, coverage, continuity, and editing cuts.
Then practise identifying them while watching movies and using them in your own projects. The terminology will quickly stop feeling technical once you connect each word with something you actually do behind the camera.
Grab your camera or smartphone, plan a short scene, create a simple shot list, and experiment with different framing, angles, lenses, and edits. The fastest way to learn filmmaking language is to actually make films.